Create New Project
Applies to: Pro · Enterprise Last updated: 27-Feb-2026
Overview
The New Project Wizard guides you through creating a blank schedule in five steps. You define the project identity, pick a calendar template, choose a WBS structure, set scheduling parameters, and review before creation. Once created, the project opens in Editor Mode with WBS grouping enabled automatically.
Prerequisites
- Active Pro or Enterprise subscription
- Editor Mode enabled (toggle in the toolbar)
The Five Steps
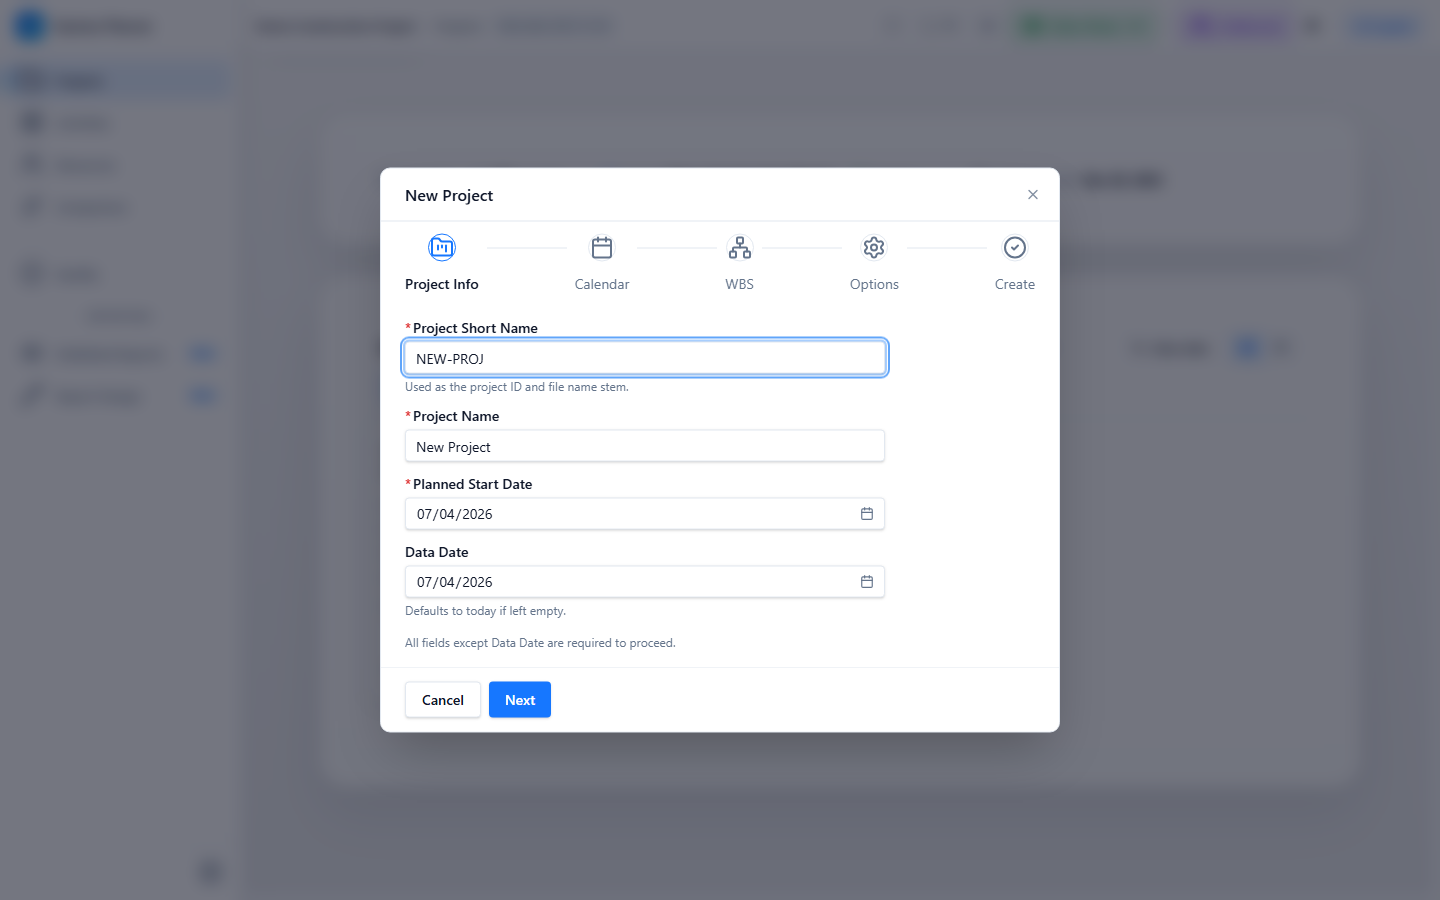
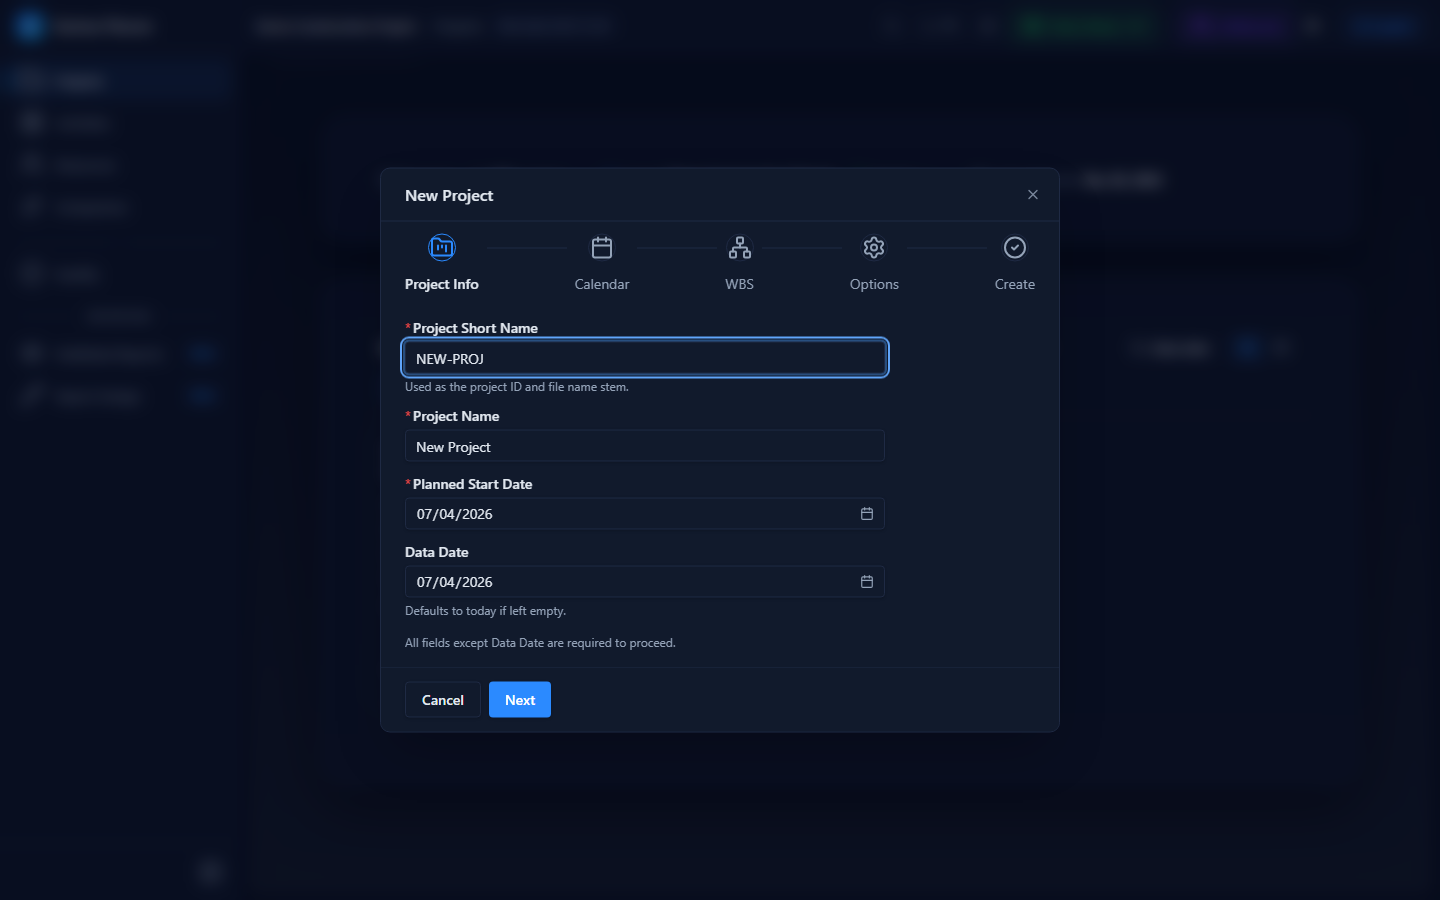
Step 1 — Project Information
Define the core identity of your project.
| Field | Description | Default | Validation |
|---|---|---|---|
| Project ID | Short alphanumeric identifier | NEW-PROJ | Required, must not be empty |
| Project Name | Full descriptive name | New Project | Required, must not be empty |
| Planned Start | Project earliest start date | Today | Required |
| Data Date | Schedule status date | Today | Required |
All four fields must be filled before you can proceed to Step 2.
Step 2 — Calendar
Select a calendar template that defines working hours for your project.
| Template | Work Days | Hours/Day | Best For |
|---|---|---|---|
| 5d × 8h | Mon–Fri | 8 | Standard office projects |
| 6d × 8h | Mon–Sat | 8 | Extended work weeks |
| 7d × 8h | Every day | 8 | Continuous operations |
| 24/7 | Every day | 24 | Around-the-clock projects |
| 5d × 10h | Mon–Fri | 10 | Compressed schedules |
| 7d × 10h (Shutdown) | Every day | 10 | Turnaround/shutdown projects |
You can also import an existing calendar from a previously loaded schedule. Imported calendars appear below the built-in templates.
Step 3 — WBS Structure
Choose a starting WBS template to pre-populate your Work Breakdown Structure.
| Template | Description | Structure |
|---|---|---|
| Simple | Root WBS node only | Single top-level node |
| Construction | Standard construction phases | 3-level hierarchy: Preconstruction (Design / Permits / Procurement), Construction (Civil / Structural / Mechanical / Electrical / Piping), Commissioning (Pre-Commissioning / Commissioning / Start-Up) |
| IT Project | Software / IT delivery | 3-level hierarchy: Initiation (Requirements / Feasibility), Development (Architecture / Implementation / Integration), Testing (Unit / UAT), Deployment (Release / Training) |
| Turnaround | Plant turnaround / shutdown | 2-level hierarchy: Area → System, uses the 7d×10h calendar |
You can modify the WBS structure after creation using the WBS Editor.
Step 4 — Schedule Options
Configure how the CPM engine calculates your schedule.
| Option | Description | Default |
|---|---|---|
| Retained Logic | Respect predecessor logic for in-progress activities | On |
| Progress Override | Allow progress to override logic constraints | Off |
These options can be changed later from the Schedule Options dialog.
Step 5 — Summary
Review all your selections before creating the project:
- Project ID and name
- Selected calendar template
- WBS template
- Scheduling options
Click Create to generate the project. Kazinex creates a synthetic .kaz file, adds the project to your workspace, and automatically enables Editor Mode with WBS grouping applied.
What Happens After Creation
- The new project appears in your Projects list
- Editor Mode activates automatically
- WBS grouping is applied to the Activities grid
- You can start adding activities, relationships, and resources immediately
Tips & Best Practices
- Choose your WBS template carefully — it sets the foundation for your schedule hierarchy
- The Construction template works well for EPC and infrastructure projects
- You can always add more WBS nodes and restructure later
- Set the Data Date to your project's actual status date for accurate scheduling
Related Documentation
- WBS Editor — Edit your WBS structure
- Calendar Editor — Customise work patterns
- Schedule Calculation — Run the CPM engine
- Schedule Options — Adjust scheduling parameters