Activity Code Editor
Applies to: Free · Pro · Enterprise
Last updated: 17-Jul-2025
Overview
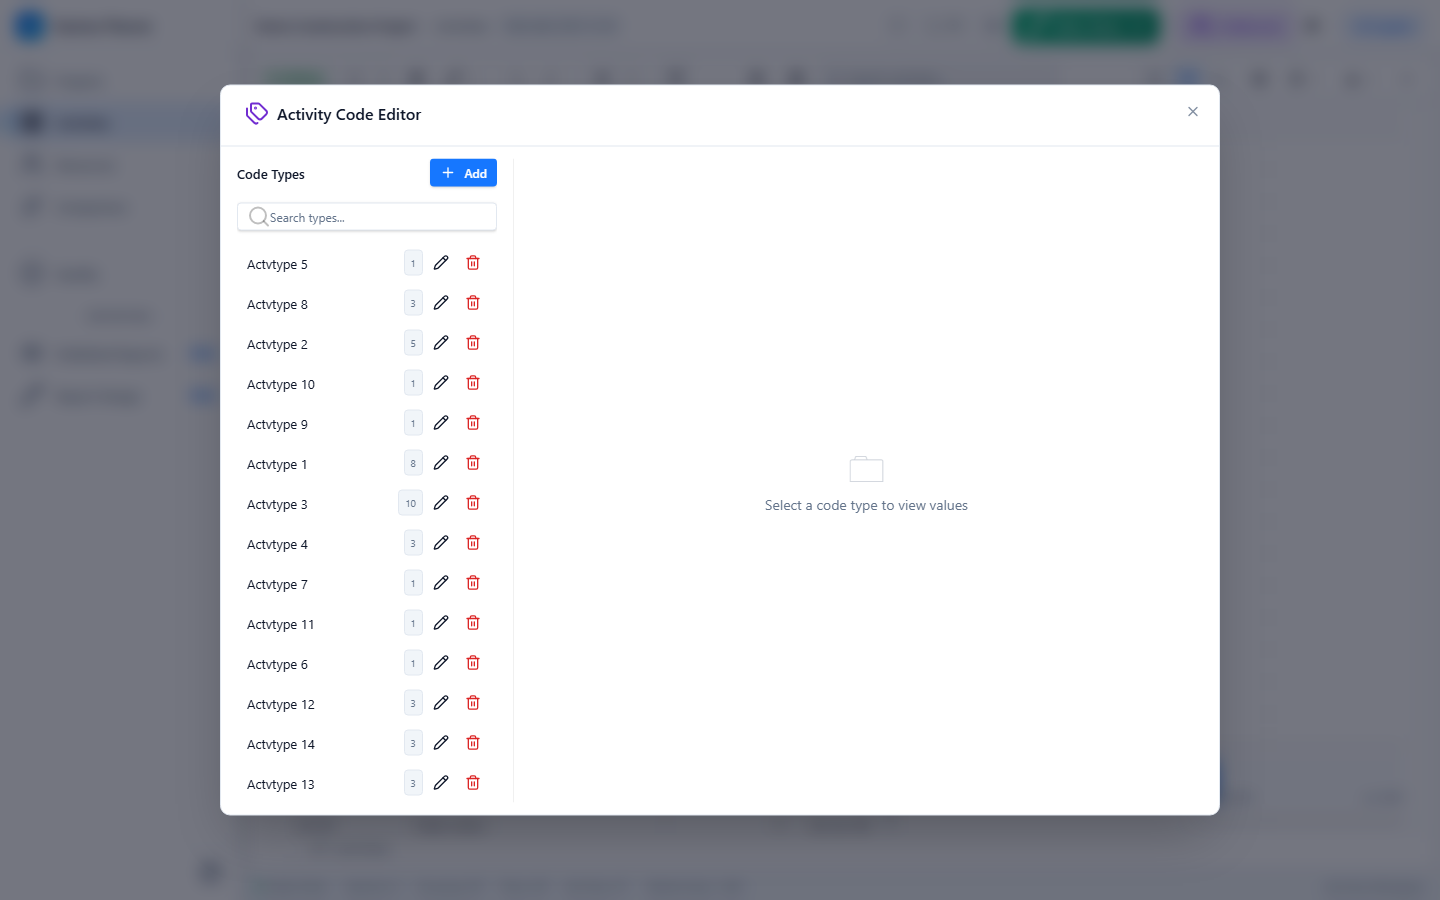
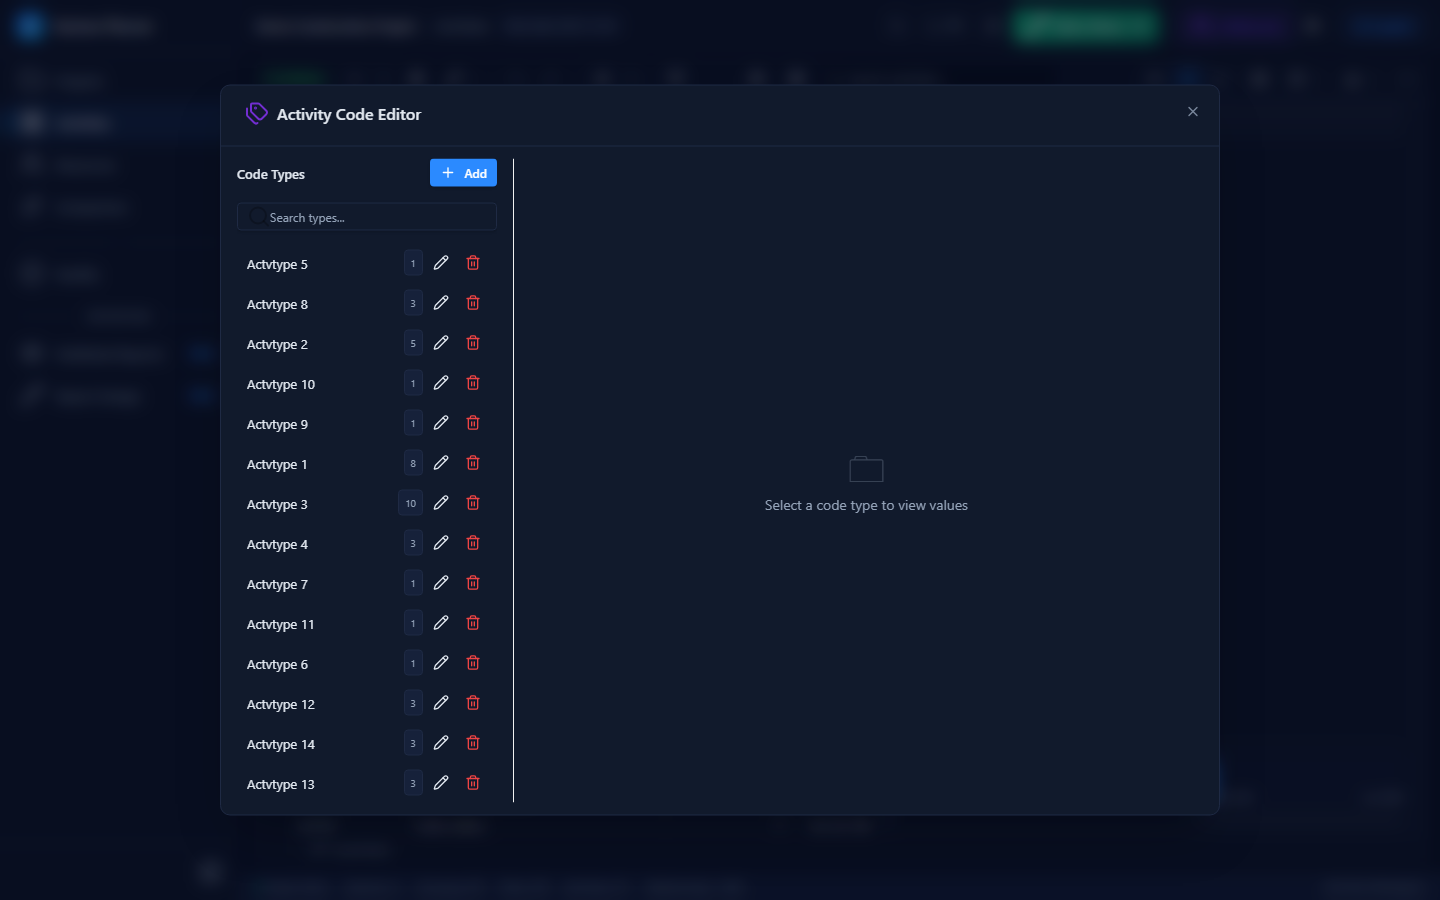
Activity codes let you classify and group activities by custom categories — Phase, Discipline, Area, Responsibility, or any taxonomy your project requires. The Activity Code Editor provides a two-pane interface for managing code types, their hierarchical values, and assignments to activities.
Opening the Activity Code Editor
- Open your schedule in the Editor tabs.
- Click Activity Codes in the editor toolbar, or use the menu Editor → Activity Code Editor.
- The Activity Code Editor dialog opens.
Layout
| Pane | Width | Content |
|---|---|---|
| Left | 260 px | Code types list with search and CRUD buttons |
| Middle/Right | Flexible | Tabbed view — Values tab and Assignments tab |
Managing Code Types
Creating a Code Type
- Click the Add button in the code types pane (or press Insert when no type is selected).
- An inline input field appears.
- Type the code type name (e.g., "Phase", "Discipline", "Area").
- Press Enter or click the check mark to confirm.
Renaming a Code Type
- Select the code type in the list.
- Click the Edit button or press F2.
- Modify the name in the inline input.
- Press Enter to confirm.
Deleting a Code Type
- Select the code type.
- Click the Delete button (or press Delete).
- Confirm the deletion.
Deleting a code type also deletes all its values and removes all assignments from activities.
Each code type in the list shows a value count tag and action buttons (Edit, Delete).
Managing Code Values
Select a code type to see its values in the Values tab.
Hierarchical Value Tree
Code values are displayed in a tree structure powered by parent-child relationships. Values can be nested to create multi-level hierarchies:
Phase
├── Design
│   ├── Concept Design
│   └── Detailed Design
├── Construction
│   ├── Civil Works
│   ├── Structural
│   └── MEP
└── Commissioning
The tree is fully expanded by default and supports drag-and-drop rearrangement.
Adding a Value
- Click the Add button in the values toolbar (or press Insert when the values tab is active).
- Fill in the inline form:
- Short Name — compact identifier (e.g., "CIV")
- Full Name — descriptive name (e.g., "Civil Works")
- Parent — optional parent value from the dropdown (creates a child node)
- Colour — optional colour for visual coding
- Confirm to create the value.
Editing a Value
- Select a value in the tree.
- Press F2 or click the Edit button.
- Inline input fields appear for the short name and full name.
- Press Enter or click the check mark to save.
You can also change the colour and parent assignment during editing.
Deleting a Value
- Select a value.
- Press Delete or click the delete button.
- Confirm the deletion.
Activities that had this code value assigned will have the assignment removed automatically.
Rearranging the Hierarchy
You can restructure the value tree in three ways:
| Method | Action |
|---|---|
| Drag and drop | Drag a value node onto another value to make it a child. Drag to a gap between values to reorder at the same level. |
| Indent | Select a value and click the Indent button (right arrow). The value becomes a child of the sibling above it. |
| Outdent | Select a value and click the Outdent button (left arrow). The value moves up to its grandparent's level. |
Value Display
Each value in the tree shows:
| Element | Description |
|---|---|
| Colour swatch | 10 px coloured circle matching the value's colour |
| Short name tag | Pill tag with the short identifier |
| Full name | Descriptive name text |
| Usage count | Number of activities with this code assigned |
| Action buttons | Assign, Edit, Delete |
Assigning Codes to Activities
Switch to the Assignments tab to manage which activities have this code type assigned.
Assignment Table
The table shows all selected activities with columns:
| Column | Description |
|---|---|
| Activity | Task code |
| Name | Activity name |
| Assigned Value | Currently assigned code value (if any) |
| Quick Assign | Dropdown to set or change the assigned value |
| Unassign | Button to remove the code assignment |
Bulk Assignment
Several ways to assign codes in bulk:
- "Assign to all" dropdown — at the top of the assignments table. Select a value to assign it to all listed activities at once.
- Tree node assign button — click the link icon on a value in the Values tab to assign it to all selected activities.
- AI Copilot — ask the AI to "assign Discipline = Mechanical to all activities under WBS 2.1".
Keyboard Shortcuts
| Key | Action |
|---|---|
| Insert | Add new code type (if no type selected) or add value (if type selected and values tab active) |
| Delete | Delete the selected type or value |
| F2 | Edit the selected type or value inline |
Tips & Best Practices
- Use short names for exports — short names appear in XER exports and should follow your organisation's naming convention.
- Build hierarchies for roll-up reporting — group values under parents so you can filter and group activities at multiple levels.
- Assign colours for visual distinction — colour-coded values make the Gantt chart and grid easier to scan.
- Use the Assignments tab for targeted bulk work — select specific activities in the grid first, then open the editor.